How to Apply UV DTF? A Complete Guide
 Though there are many printing methods, customized printing on hard surfaces is tricky because vinyl doesn’t always stick, sublimation needs special coatings, and heat pressing has its limitations. No worries! There is still one way to do so, and it is UV DTF printing. Now the critical part is how to apply UV DTF, or how it works. Here you can learn everything! Just stay with us:
What is UV DTF Printing?
UV DTF (Direct to Film) is a method where you can print a design on a specialized film by using UV-curable inks. Instead of relying on heat or water, you can transfer the design onto almost any hard surface, such as glass, wood, plastic, or metal, just by applying pressure.
This method delivers vibrant, high-resolution details that pop, and works on tricky, non-porous surfaces without any heating required. You’ll usually find UV DTF available in three formats:
-
Pre-cut stickers
-
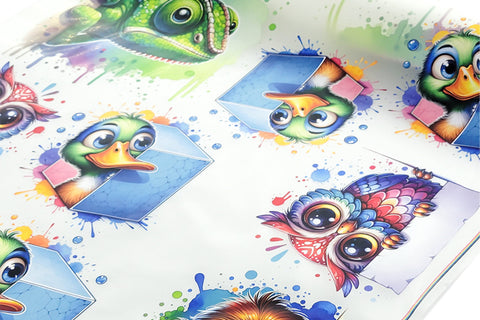
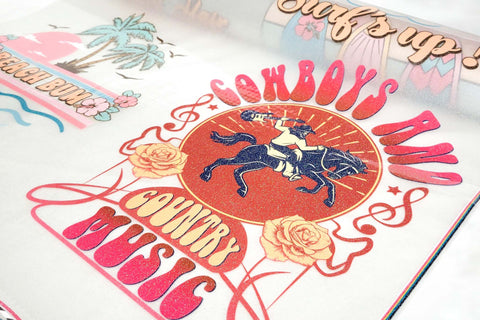
Gang sheets (multiple designs printed together)
-
Custom full-wraps
Materials and Tools
No matter which UV DTF format you are using, you need the following materials:
-
UV DTF transfer film
-
Squeegee or scraper
-
Clean cloth or alcohol wipes
-
Scissors or a precision cutter
For gang sheets, that precision cutter becomes essential. For full-coverage wraps, a UV lamp can help with final curing.
How to Prepare Surfaces for UV DTF Application?
For UV DTF transfers, surface prep is important because it delivers amazing and long-lasting designs. Because UV DTF printing doesn’t rely on heat or adhesives, the good bond depends on a clean surface, so there should be no dust, particles, or oil.
Prep Steps for UV DTF Transfers
-
Clean the surface with isopropyl alcohol and a lint-free cloth to remove grease, dirt, and fingerprints.
-
Then dry completely with an air dryer or cloth because moisture can cause bubbling or poor adhesion.
Surface-Specific Preparation Tips
-
Glass: Use a lint-free cloth or coffee filter to prevent streaks. Double-check edges where fingerprints usually gather.
-
Wood: UV DTF won’t grip well on raw or porous wood. Apply a clear sealant or finish first, then sand lightly for a smooth base before cleaning. Get more answers for your queries.
-
Metal: Pay extra attention to oils, especially on stainless steel and aluminum. Degrease thoroughly and avoid touching the surface bare-handed afterward.
-
Plastic: Some plastics come with a slick factory coating. Lightly scuff with fine-grit sandpaper before cleaning to give the transfer something to hold onto.
-
Ceramic: Make sure ceramics are smooth and non-porous. Clean carefully around curves where residue tends to build up.
How to Apply UV DTF by Print Type?
Here is the step-by-step process according to the print type:
UV DTF Stickers (Pre-cut Designs)
Pre-cut UV DTF stickers are the easiest format to work with. These are ready-to-use transfers and are perfect for adding logos, names, or product labels without needing extra cutting tools. Here is the process to apply them:
-
Peel the film from the back and carefully lift the sticker from the backing sheet. Keep the design flat to avoid curling.
-
Now, place the UV DTF sticker on the clean, prepared surface.
-
Use a squeegee or scraper to apply firm, even pressure across the entire design.
-
Now, slowly pull the sticker back at a low angle, making sure all parts of the design remain on the surface. If any section lifts, press it down again.
Tips To Apply UV DTF Stickers
-
Work on a flat surface to avoid misalignment.
-
Apply even pressure, especially on edges and fine details.
-
For small or detailed logos, go extra slow when peeling the top film.
-
Use these stickers for branding drinkware, labeling jars, customizing packaging, or personalizing gifts.
UV DTF Gang Sheets
When you’re working on bulk orders or need multiple designs in one go, UV DTF gang sheets are the most efficient choice. A gang sheet combines several designs on a single sheet of film. This format is popular for small businesses for producing custom merchandise, packaging labels, or promotional items in large quantities. Here is the process to apply the UV DTF gangsheet:
-
Cut out each design with a sharp scissors cleanly.
-
Now, peel the backing, position the design, press firmly with a squeegee, then peel the top film slowly.
-
If you are cutting dozens of designs, it’s easy to lose track. Keep your cuts grouped or labeled to avoid applying the wrong piece.
Tips for Using UV DTF Gang Sheets
-
Use registration marks if your gang sheet includes them.
-
Cut evenly and neatly because uneven cuts can overlap or cause parts of the design to lift.
-
Arrange designs on your sheet logically before cutting.
Full-Coverage UV DTF Wraps
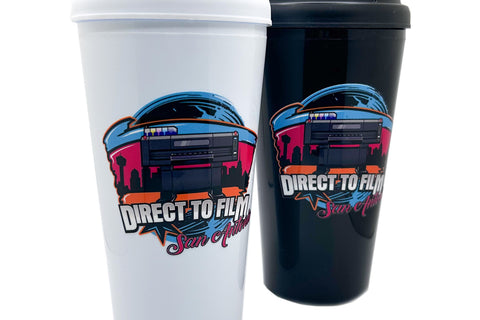
For projects that require a bold, all-over look, full-coverage UV DTF wraps are the way to go. Unlike stickers or small decals, these wraps are designed to cover the entire surface of an item. These are great for tumblers, mugs, plaques, and other larger products. Here is how to apply UV DTF Wraps:
-
Before peeling anything, hold the wrap against your item to check the fit and align the edges carefully.
-
Peel the backing and start applying at the middle of your surface. Slowly work outward to each edge, pressing as you go.
-
Apply firm, even pressure to ensure the wrap bonds evenly to the surface.
Pro Tips for UV DTF Wraps
-
For curved surfaces like tumblers or mugs, use a UV lamp to help the adhesive cure and bond more securely.
-
Do a dry fit by wrapping the film around your object before peeling the backing. This gives you a better feel for positioning.
Intricate or Layered Designs
If you have to print multi-piece logos, detailed illustrations, or layered color designs, UV DTF can handle the complexity, but it requires extra care. Here is how to apply:
-
Starting with the base layer means applying the largest or background piece first.
-
Place additional layers one at a time, ensuring the edges and details align with the base. Using guides or reference points on your surface can help.
-
Small details are more likely to lift during transfer. Press down carefully.
-
Now peel the film slowly at a low angle. If a detail lifts, stop, press it back down, and continue.
Tips for Intricate UV DTF Designs
-
Work in good lighting to avoid bubbles to spot alignment issues.
-
Use tweezers for tiny pieces to adjust small parts of the design without smudging.
-
For layered transfers with lots of fine lines, curing under a UV lamp adds extra durability.
When is UV Curing Recommended?
UV curing is recommended for curved items like tumblers, mugs, or bottles because it helps the adhesive settle into curves and reduces the risk of edges lifting. You can also cure the high-contact items, such as drinkware, phone cases, or tools, to last longer if you cure them. UV curing is important to improve resistance to scratches, heat, and weather.
Aftercare Instructions
-
Avoid washing or scrubbing the item for at least 24 hours after application.
-
Don’t expose it to sharp edges or constant abrasion.
-
Hand-wash drinkware instead of running it through the dishwasher for best results.
Wrap it Up!
UV DTF printing is not challenging once you have learned the difference between stickers, gang sheets, wraps, and layered designs. Choose the format that fits your project, prepare your surface well, and take your time during application. I hope you understand everything!


